


AlRice
Well-Known Member
- Joined
- Aug 18, 2006
- Messages
- 262
- Reaction score
- 0
<div style="text-align: center;" align="center">Finish Welding the Fuselage
General Suggestions
- While
the fuselage is still upside down on your table, and with the tailpost securely
in its jig to hold it vertical, finish weld from stations 168 to 137 as
much as possible. - Weld
the âeasyâ side of a cluster first starting and finishing as far around
the tube as possible. This will
make it easier to finish up the âhardâ side of the cluster. - Start
at the rear and weld toward the firewall, progressing in a spiral pattern. - Do not
weld in the top half of the tailpost.
It will get in the way. - Build
a rotating stand like the one in Tony Bingelisâ book Sportplane
Construction Techniques, pg 69. - Always
keep your body and hands in as comfortable position as possible while
welding.
Finish welding the fuselage took me about 45 hours. Being able to position the fuselage in every
possible position is essential to making quality welds. This is the front mount of my stand. It is made of 2x4âs with a pivot tube welded
to a steel plate bolted to the 2x4 crosspiece.
The vertical stands are also made of 2x4âs with a hole for the pivot
tube drilled (holesaw) 40â above the ground.
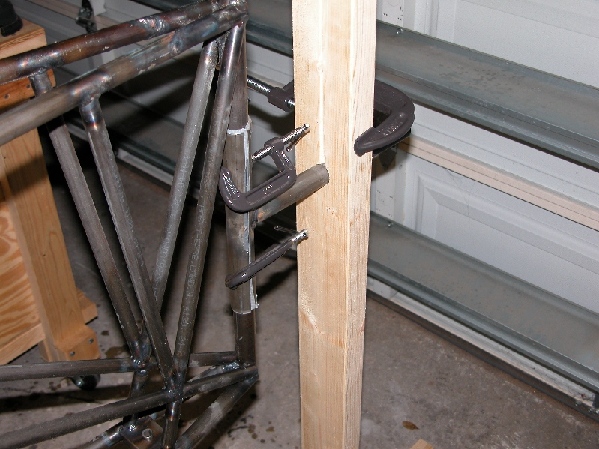
The rear mount is much different from the Bingelis
drawing. I split a tube that clamps over
the tailpost and welded half of the clamp tube to the rear pivot tube. Some duct tape keeps the clamp tube from
slipping on the tailpost. The rear
vertical stand is also drilled at 40â. Notice
the 3/8â slot cut in the 2x4 from the hole to the top. This allows the 2x4 to be squeezed providing
friction to hold the fuselage in any position.
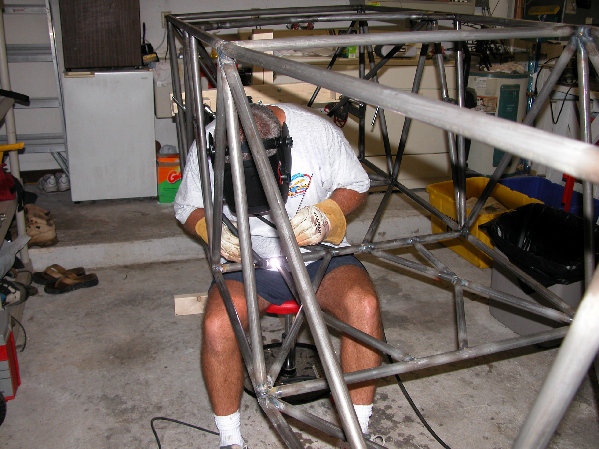
The rotating stand allows you to weld from inside and
outside the fuse. Keeping your body
stable and comfortable adds to the weld quality.