


AlRice
Well-Known Member
- Joined
- Aug 18, 2006
- Messages
- 262
- Reaction score
- 0
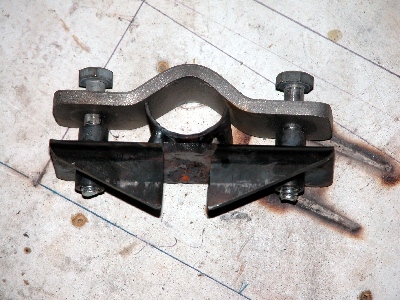
<div style="text-align: center;" align="center">Fabricating the Tailwheel Bracket
My tailwheel assembly is the round spring type available
from Steen Aerolab. It is a nice light
assembly, but the rear bracket must be fabricated a bit different from the one
in the plans.
Step 1- Make a pattern of the bracket base plate from the
plans then cut and bend it to fit the bottom of the tailpost. Since I wrapped a .063 strap around the
tailpost at the bottom longerons, I notched the base plate so that it would be
flush with the back of the strap.
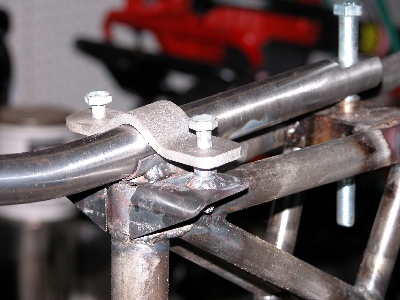
Step 2- Trial fit the bracket and clamp with the tailspring
mounted and aligned.
Step 3- Drill the clamp and bracket together with a 1/8â
drill bit.
Step 4- Drill the clamp for the ¼â bolts and the bracket for
the 3/8â bushings. Ream the bushings to
¼â.
Step 5- Cut and split a short piece of tubing to fit between
the tailspring and bracket.
Step 6- Bolt the assembly together on the tailspring and
align the assembly over the tailpost.
Step 7- Tack the bushings and split tube in place, then
remove the assembly and finish weld the parts.

Step 8- Re-install the completed bracket, align over the
tailpost and weld in place.

Step 9- Weld the front mount bushing at the proper height for the tailpsring.