AlRice
Well-Known Member
- Joined
- Aug 18, 2006
- Messages
- 262
- Reaction score
- 0
In the last post we tack welded all the top and bottom cross tubes into the fuselage. Today we will fit and tack the fuel tank support bushings, interior diagonal tubes and the side tubes at the tail.
This pic shows the 2 'V' tubes that are installed from the bottom of station 0 to the top of station 24. BEWARE! Don't make the same mistake that I did. Before you install these 2 tubes, install your fuel tank first and then fit the tubes around it. I found out the hard way that these tubes fit tightly around the tank and if you don't fit them outboard of station 24, the standard tank will not fit. Now, I have to cut them out and re-fit them. Not a fun thing to do since they are finish welded in.
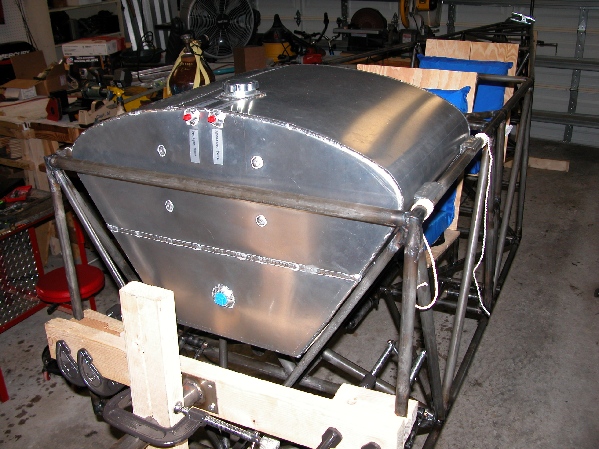
Install the fuel tank BEFORE fitting the "V" tubes from 0 to 24. Then fit the tubes around the tank. The tank here is too high because it is sitting on those tubes which are too close together. This tank is built according to MacKenzie's plans.
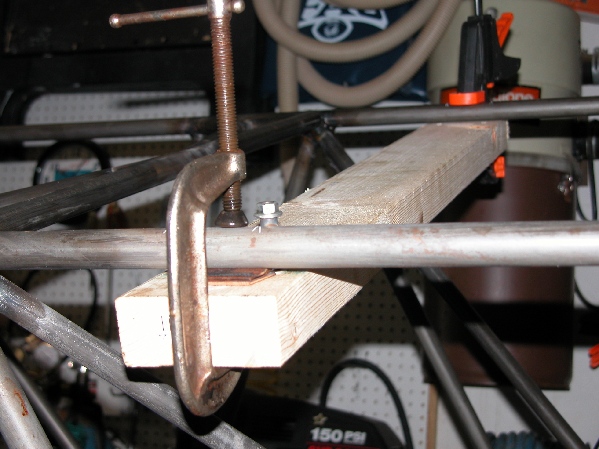
To fit the fuel tank mount bushings, drill one end of a 2x4 with 2 1/4" holes properly spaced for the bushings. Bolt the bushings to the 2x4 and clamp it to the upper longerons with the bushings contacting the longerons in the proper location. Shim the 2x4 to center the bushings on the longeron and tack weld in place.
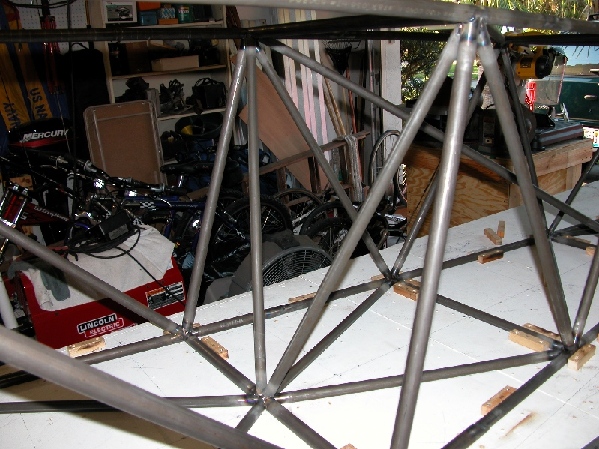
These 2 diagonals form the pilot seat back support.
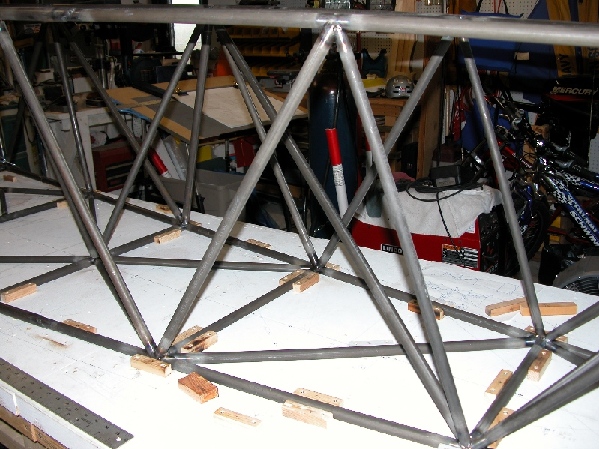
The first intercoastal diagonal starts at upper station 85 and ends at lower station 120. I set the fuse right side up so that the orientation of the tubes looking down the fuselage from the front would be the same as the drawings in the plans. Notice that the fuse is still jigged.
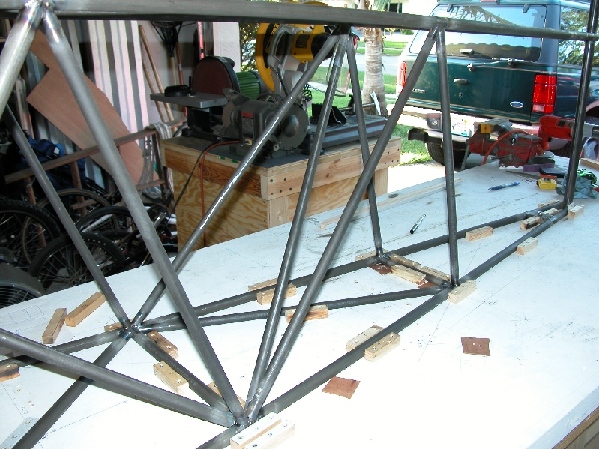
The second intercoastal tube starts at lower station 120 and ends at upper station 137.
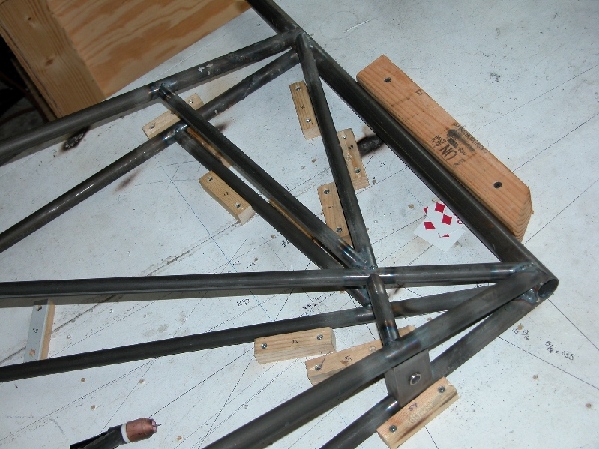
Finally, I drew the centerlines for the tailpost and stabilizer support tubes and mounted the jig blocks on the table. I laid the fuse on its side and blocked up the front so the rear side would be flat and then fit the tubes. Notice the tailwheel mount. I left the bushing unwelded until I actually fit the tailwheel so that I could get the proper height.
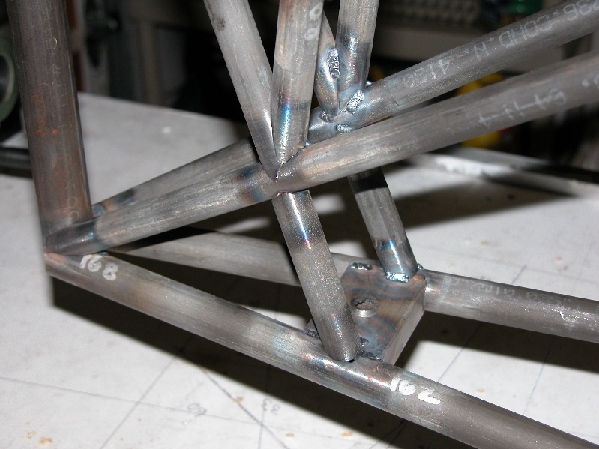
Here you can see the front tailwheel mount and the empennage support tubes.
Finish Welding
After all the basic fuselage tubes were tack welded in place, I turned the fuselage upside down and jigged it straight and level on the table and then put the tailpost back in the jig to hold it vertical in both planes again. Then I finish welded joints from station 168 to 137 as much as possible in a criss-cross pattern. This will help to lock the tailpost vertical. After I welded to station 137, I mounted the fuse in my 'rotisserie' and finish welded all the other joints in a spiral pattern finishing at the firewall. Finish welding took me about 45 hours, but I'm pretty slow. Using my Lincoln 185 TIG, my fuselage came out with no warpage in the longerons and straight as an arrow.
Edited by: AlRice


