


AlRice
Well-Known Member
- Joined
- Aug 18, 2006
- Messages
- 262
- Reaction score
- 0
The last post covered installing the tailpost in the Skybolt fuselage. This post will show notching and installing the remaining cross tubes in the top and bottom of the fuselage.
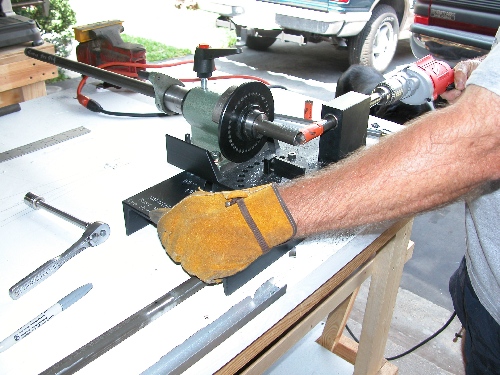
Notching tubing with a notcher requires the following steps:
NOTE: make a small practice drawing on your bench and practice with some short tubes first.
1. Measure the length of the tube from joint intersection to intersection and cut the tube.
2. Draw a reference line down the side of the tube. I used the 3/4" aluminum channel screwed to my bench in this picture.
3. Measure the tube angles as laid out on the table and secure the tube in the notcher with the reference line aligned with some point on the notcher.
4. Set the first angle in the notcher and cut the notch with the holesaw.
5. Set the second angle, rotate the tube 180 deg. and cut the opposite notch.
6. Insert the opposite end of the tube, align the reference line, set the first angle for the opposite end and cut the notch. Be sure that you are cutting the correct angle in relation to the opposite end.
7. Rotate the tube 180 deg, set the last angle and cut the notch.
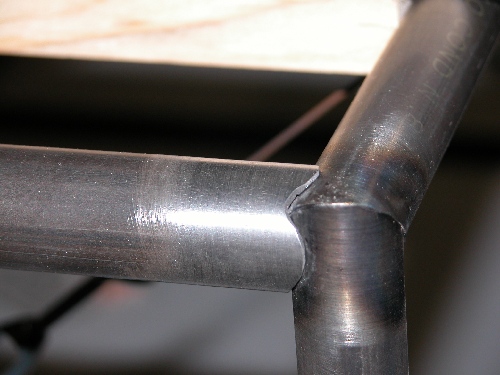
Finally, it is possible to notch all tubes on your bench grinder, you will just have to be more careful and it will take longer. Once you do a few tubes it gets pretty routine and easy.
Bahco holesaws from IndustrialSupplyStore.com are high quality and cheap. I only needed 2 of each size tubing to do the whole fuselage. I found that using the holesaw a high speed resulted in less chipped teeth and less grabbing of the thinwall tubing. Just go slow. No lubrication is needed.
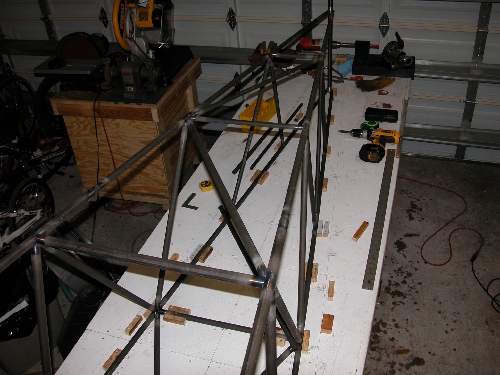
While the fuselage is still upside down, start installing the cross tubes in the top. This is the hand hold in the passenger cockpit.
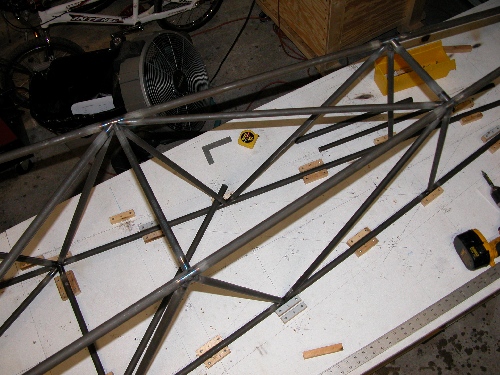
Keep installing the top cross tubes until station 137. BEWARE! The plans view is from the top looking down, and the fuse is upside down, so be careful to draw the diagonals behind the pilot's seat correctly. Hint: look at the plans from the backside of the sheet.
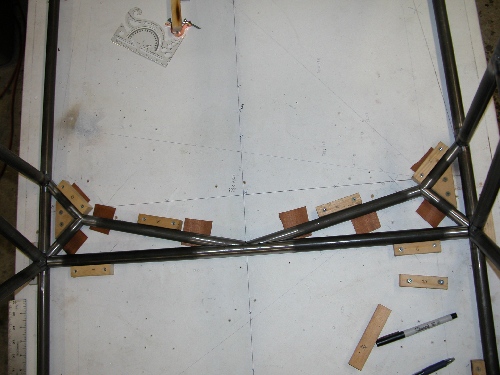
This is the cross tube at station 0. The top and bottom tubes are the same. Can't use a notcher for this tube.
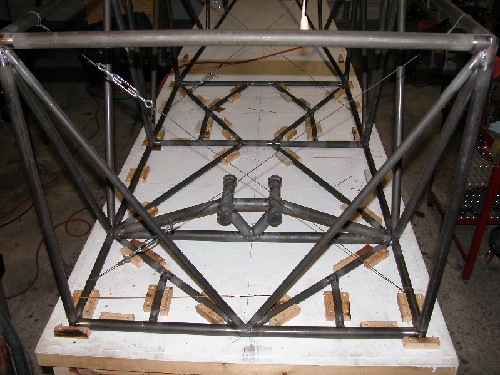
While the fuselage was still upside down, squared, and leveled, I installed the 'V' tubes at station 0. Then, take the fuse off the table and draw the centerlines for the bottom tubes if you haven't already done so. Mount the fuse on the table right side up, block the tail up so the forward section is flat on the table, check that the fuse is still square and level, and then start fitting the bottom tubes back to station 57 1/8. Clamp the longerons down so that they can't move. Keep the tailpost in the jig!
After the bottom tubes to station 57 1/8 are tacked in place, block up the front of the fuse so that the rear half is flat on the table, and fit and tack the rear bottom tubes to station 142 including the front tailwheel bracket.
In the next post we will install rear side tubes and the interior diagonal tubes.
Edited by: AlRice